
Many MS SQL Server users ask about installing SQL Server Management Studio. the tuturial below shows you the way to do it step by step.
N.B : We used SQL Server Management Studio from the SQL Server 2008 R2 DVD.
The same rules apply for the express edition (of course with less features !!).
Note : You can find SQL Server links by visiting this page.
Step 1 : Insert the DVD containing SQL Server 2008 R2 install (or any other device like USB).
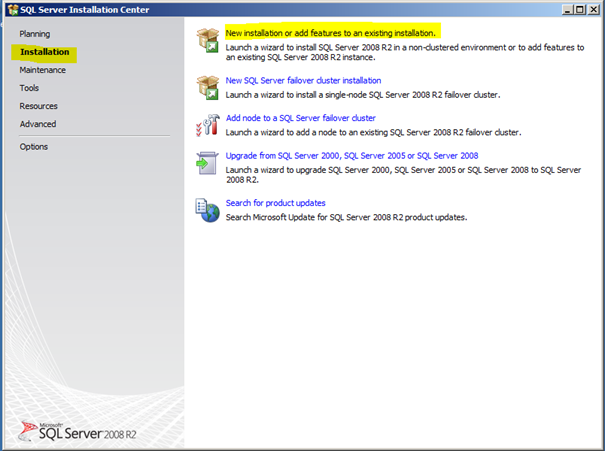
Step 2 : Click « Installation » and « New installation or add features to an existing installation» as in the picture above.
Step 3 : click « OK ».

Step 4 : type the product key that came with the DVD and then click « Next ».
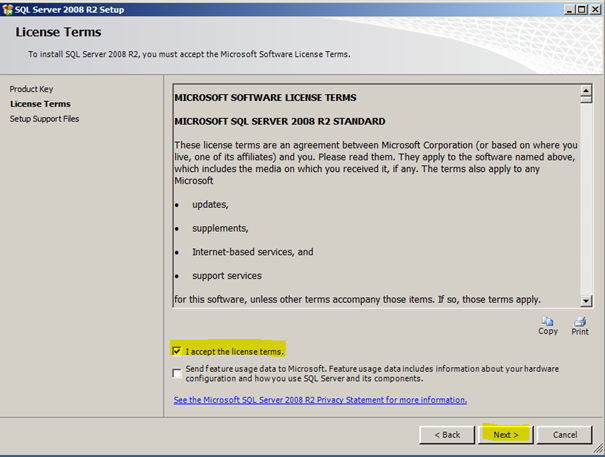
Step 5 : check the « I accept the licence terms » case and click « Next ».
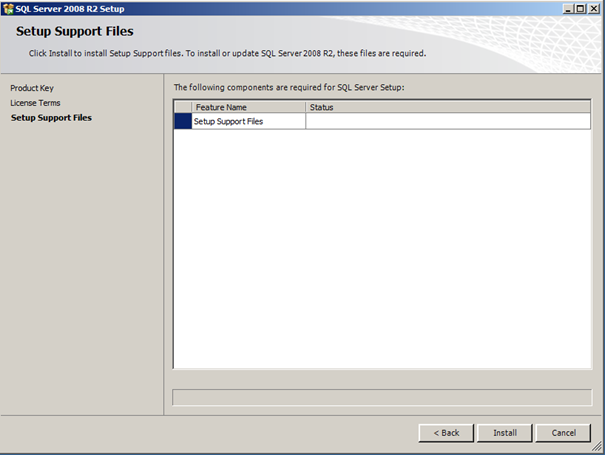
Step 6 : Click « Install ».
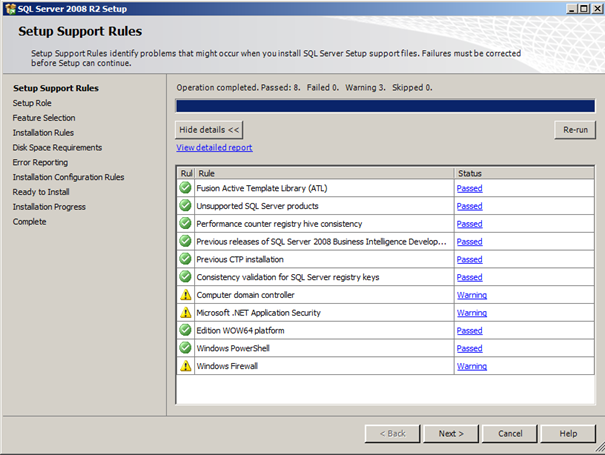
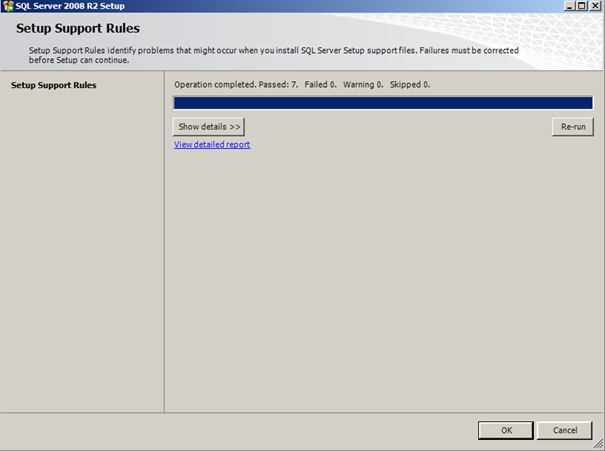
Step 7 :the test should succeed, (no « Failed » shown in details), you can now « Next ».
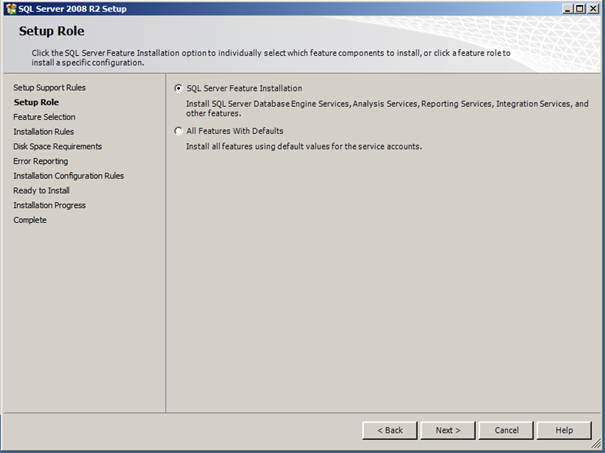
Step 8 : Sélectionner « SQL Server Feature Installation » puis cliquer sur « Next ».
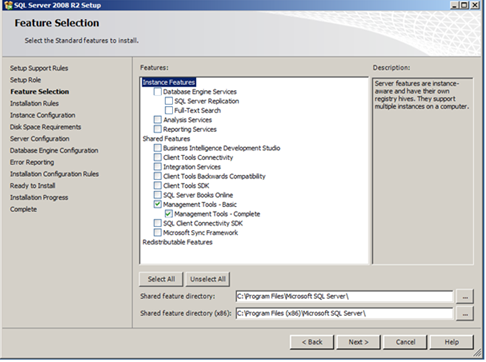
Step 9 : Chose features « SQL Management Tools Basic » and « SQL Management Tools Complete » (and whatever else you want) then click « Next ».
The install should start now…..
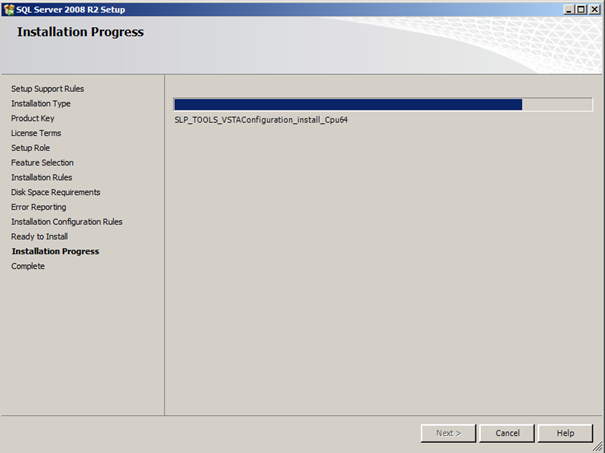
Step 10 : Patience ! patience.
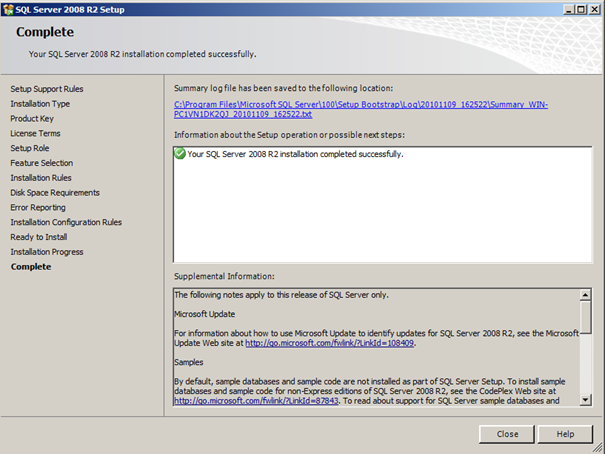
Step 11 (last one) : Close the window by the « Close » button .
That’s it ! you’re done, you did it ! You can now start using SQL Server Management Studio to manage, create, and control your data in SQL Server.
Note : You can find SQL Server links by visiting this page.
What do you think of the process? is it straight forward or complicated ?
Genuinely no matter if someone doesn't know then its up to other viewers that they will
help, so here it occurs.
Here is my website; Koh Samed